
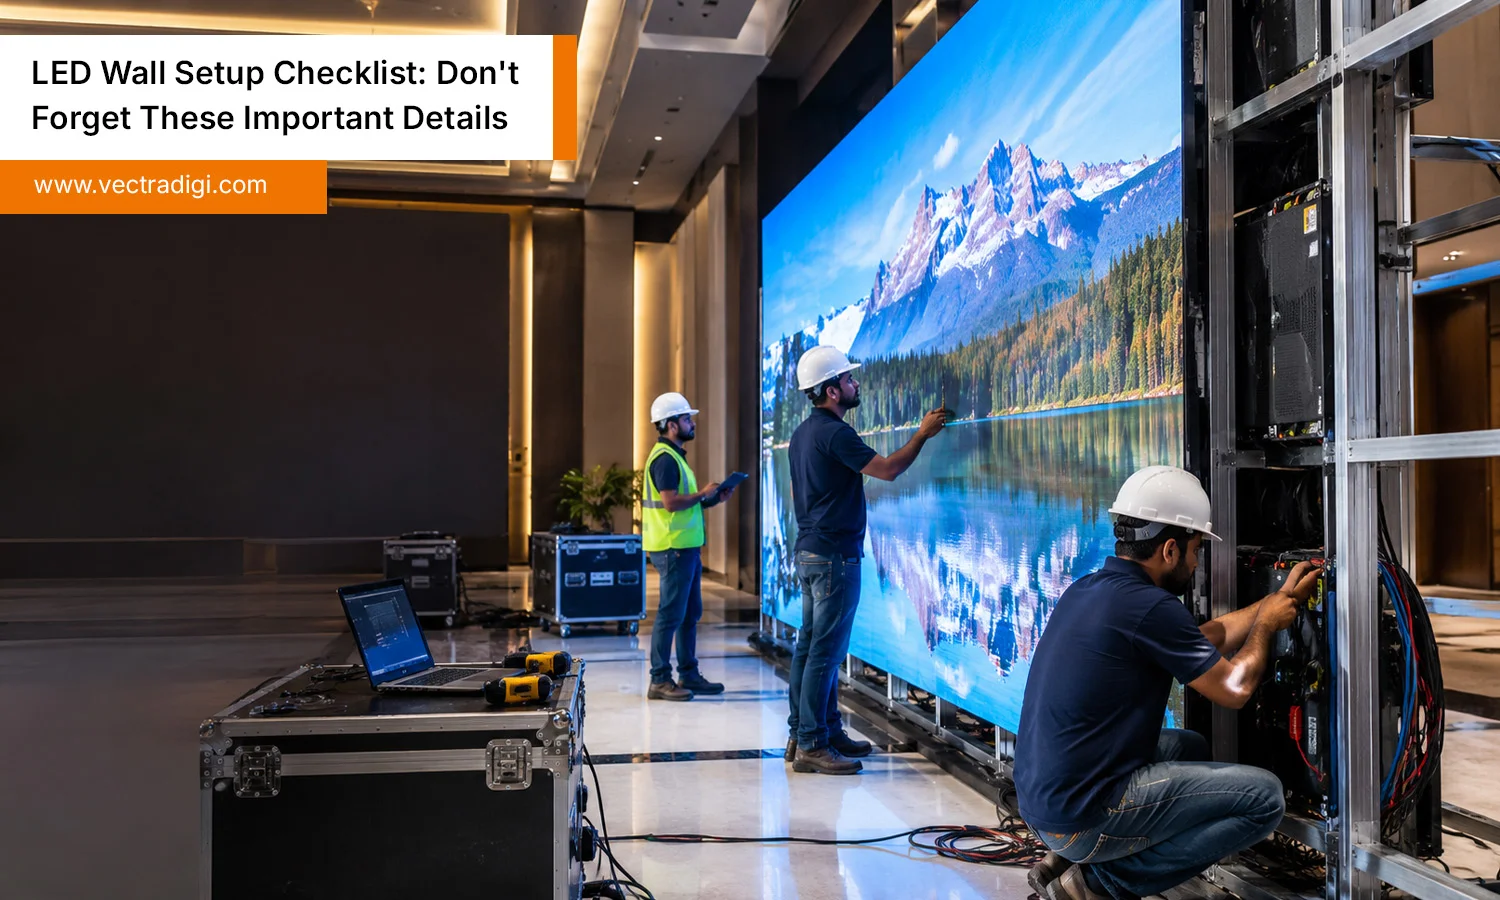
LED walls have become the go-to choice for events, retail spaces, control rooms, and corporate offices looking to make a bold visual impact. But setting up an LED wall isn’t as simple as hanging a screen and plugging it in. From site assessment to structural support, power planning, and content calibration, every step matters. Skipping even one detail can lead to poor image quality, safety hazards, or costly downtime. Whether you’re a system integrator, event planner, or business owner investing in this technology, this checklist will walk you through everything you need to consider before, during, and after installation—so your display performs exactly as expected.
Table of Contents
- Why a Proper Checklist Matters Before You Begin
- Step 1: Assess the Installation Site Thoroughly
- Step 2: Choose the Right Pixel Pitch and Resolution
- Step 3: Plan Power and Electrical Requirements
- Step 4: Confirm Structural Support and Mounting Method
- Step 5: Check Cabling, Data Flow, and Control Systems
- Step 6: Factor in Ventilation and Temperature Control
- Step 7: Test Calibration and Color Uniformity
- Step 8: Verify Warranty, Support, and Maintenance Plans
- Step 9: Confirm Content and Software Work Together
- Step 10: Schedule Regular Maintenance Checks
- Final Thoughts
- Frequently Asked Questions
Also Read: What is the lifespan of a LED screen?
Why a Proper Checklist Matters Before You Begin
Many buyers focus solely on panel resolution and pixel pitch while ignoring the groundwork that determines long-term performance. A rushed setup often results in uneven brightness, overheating, or structural instability. Working with the best LED wall manufacturer from the planning stage itself helps avoid these pitfalls, since experienced manufacturers guide clients through site-specific requirements rather than offering a one-size-fits-all solution. Taking time upfront saves money, reduces maintenance calls, and extends the lifespan of your investment significantly.
Step 1: Assess the Installation Site Thoroughly
Before ordering panels, survey the physical location. Check ceiling height, wall load-bearing capacity, ambient lighting conditions, and viewing distance. Indoor and outdoor environments demand different panel specifications—outdoor walls need higher brightness (nits) and weatherproofing, while indoor displays prioritize finer pixel pitch for close-up viewing. Also measure available space carefully, accounting for ventilation gaps behind the wall. A site assessment done correctly prevents last-minute redesigns and ensures the structure can safely support the display’s weight.
Step 2: Choose the Right Pixel Pitch and Resolution
Pixel pitch decides the minimum distance a viewer needs from the screen for the picture to appear smooth and clear rather than grainy. For control rooms or retail counters where viewers stand close, a smaller pixel pitch (P1.2–P1.8) works best. For stadiums or large venues where viewing distance is greater, a larger pixel pitch (P4–P10) is more cost-effective. This decision directly affects your budget, so consulting the best LED wall manufacturer for guidance based on your specific use case ensures you’re not overspending on resolution you don’t need or underspending on clarity you do.
Step 3: Plan Power and Electrical Requirements
LED walls consume significant power, especially at full brightness. Calculate the total wattage based on panel count and consult an electrician to confirm your circuit can handle the load without tripping breakers. Dedicated circuits, proper grounding, and surge protection are non-negotiable for safety. Many installation failures trace back to inadequate power planning rather than faulty panels themselves. Always request power consumption charts from your supplier, as reputable companies provide detailed specifications rather than vague estimates.
Step 4: Confirm Structural Support and Mounting Method
LED panels are heavier than they appear, particularly for large-format walls. Decide between flat wall mounts, floor-standing structures, hanging rigging, or curved configurations depending on your venue. Each mounting type requires different hardware and load calculations. Never assume a standard wall bracket will suffice for a multi-panel display—get structural engineering input for anything beyond a small setup. This is another area where the best LED wall manufacturer adds value, offering mounting solutions tested specifically for their panel weight and dimensions.
Step 5: Check Cabling, Data Flow, and Control Systems
Signal cables, power cables, and data cables need organized routing to avoid interference and simplify future maintenance. Label every cable during installation—this small step saves hours of troubleshooting later. Confirm your video processor and control software are compatible with the panels you’ve chosen, and test signal transmission across the entire wall before finalizing the setup. Poor cable management is one of the most overlooked causes of flickering or dead zones on LED displays.
Step 6: Factor in Ventilation and Temperature Control
LED panels generate heat during operation, and poor ventilation shortens their lifespan considerably. Leave adequate space behind the wall for airflow, and consider active cooling systems for large installations or enclosed spaces. Outdoor walls need additional weatherproofing against humidity, dust, and temperature swings. Manufacturers who prioritize thermal management in their panel design—something worth verifying with the best LED wall manufacturer—typically offer products with better long-term reliability and fewer panel failures.
Step 7: Test Calibration and Color Uniformity
Once panels are physically installed, calibration is the next critical step. Different panels, even from the same batch, can show slight variations in brightness and color. Professional calibration tools adjust each panel to match seamlessly, creating a unified visual surface rather than a patchwork of mismatched tiles. Skipping this step is a common mistake that makes even high-quality panels look unprofessional. Always run a full-screen white and color test before considering the installation complete.
Step 8: Verify Warranty, Support, and Maintenance Plans
Before finalizing your purchase, understand what the warranty covers—panel defects, driver issues, or labor costs. Ask about response times for repairs and whether spare panels are available locally. This is where working with the best LED wall manufacturer really pays off long-term, since established manufacturers offer clearer service agreements, faster replacement parts, and technical support that smaller vendors often can’t match. A screen’s true reliability depends entirely on its underlying support.
Step 9: Confirm Content and Software Work Together
Your LED wall’s quality ultimately depends on its displayed content. Confirm that your media player or content management software supports the resolution and refresh rate of your panels. Test various content formats—video, live feeds, graphics—before the official launch to catch compatibility issues early. Many businesses overlook this step, only to discover on launch day that their content doesn’t scale correctly across the display.
Step 10: Schedule Regular Maintenance Checks
Post-installation, set a maintenance schedule to clean panels, check connections, and update firmware. Dust buildup and loose cables are common issues that, left unchecked, lead to bigger problems. A simple quarterly inspection routine keeps your display running at peak performance and catches minor issues before they become expensive repairs.
Final Thoughts
A successful LED wall installation depends on far more than the panels themselves. Site assessment, power planning, structural support, ventilation, calibration, and ongoing maintenance all play equally important roles in delivering a display that performs reliably for years. Rushing through any of these steps often leads to visible problems and unnecessary expenses down the line. Partnering with an experienced, reliable supplier from day one makes the entire process smoother and more predictable. Whether you’re installing a small retail screen or a large event backdrop, following this checklist ensures nothing important slips through the cracks—setting your LED wall up for long-term, trouble-free performance.
Planning an LED wall installation? Choose the right solution, avoid costly setup mistakes, and get expert guidance from trusted LED wall professionals today.
Frequently Asked Questions
Q1. Is my venue actually equipped to support an LED wall?
Ans: A site survey checking ceiling height, wall strength, power access, and lighting conditions determines suitability. Professional installers assess these factors beforehand, ensuring the chosen panel type and mounting method match your specific venue requirements safely and effectively.
Q2. What makes pixel pitch important when choosing LED panels?
Ans: Image sharpness ties directly to how far away people are standing — tighter pixel spacing is ideal when the audience sits close, whereas wider spacing performs well when viewers are further back.
Q3. Why does power planning matter so much for installation?
Ans: LED walls draw substantial electricity, and inadequate circuits cause breaker trips or safety hazards. Proper power planning, including dedicated circuits and surge protection, prevents operational failures and protects your equipment investment over the display’s lifetime.
Q4. How often should an LED wall receive maintenance checks?
Ans: Quarterly inspections are generally recommended, covering panel cleaning, cable checks, and firmware updates. Regular maintenance catches minor issues early, preventing costly repairs and ensuring consistent brightness, color accuracy, and overall display performance year-round.

