
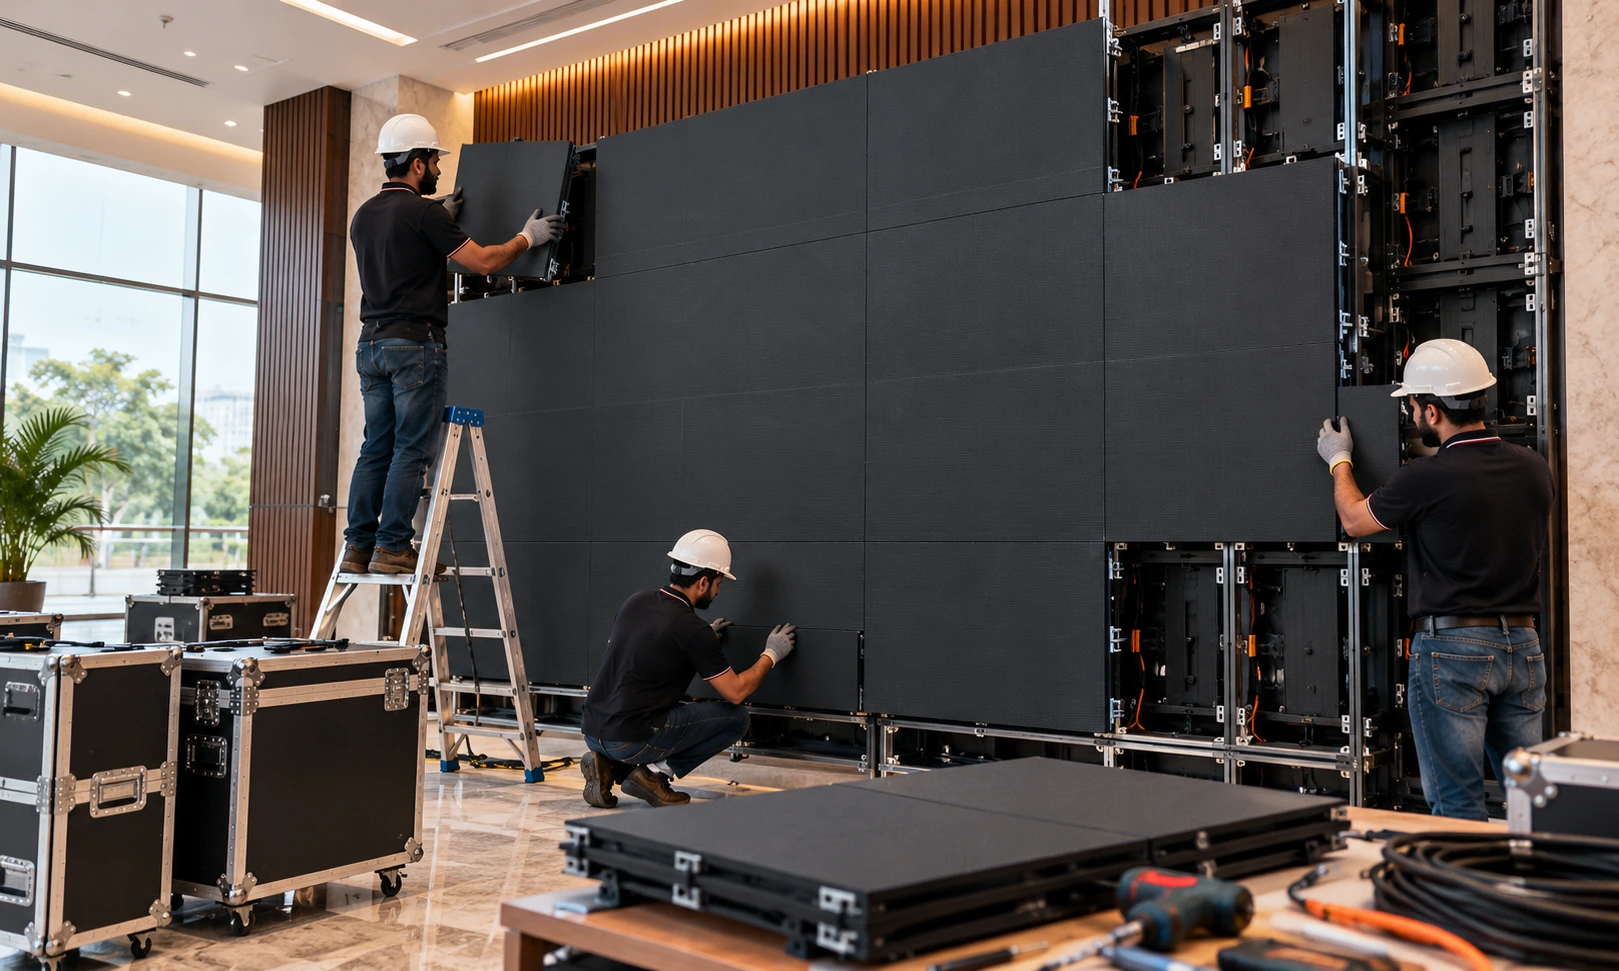
A seamless LED display can transform a lobby, showroom, or event venue, yet its flawless visuals depend on extensive planning, precise installation, and technical expertise. Many buyers assume an LED wall is simply hung up and plugged in. In reality, a good led walls system depends on planning, accurate measurements, safe power and patient calibration. This guide covers the installation process, beginning with the initial site inspection and ending with final colour calibration. Whether you are a business owner, facility manager or AV beginner, you will understand each stage, know what to ask your installer, and avoid the costly mistakes that catch many first-time buyers.
Also Read: Active LED Wall Buying Guide: 9 Things to Check Before You Buy (2026)
Start With a Proper Site Survey
Every successful installation begins before a single panel is unboxed. A site survey means visiting the space and checking everything that could affect the build.
The installer measures the wall or area, checks how level and strong the surface is, and notes the ambient light. A screen facing a sunny window needs higher brightness than one in a dim auditorium. They also check viewing distance, because this decides the pixel pitch you need. Sitting close to the screen calls for finer pixels, while a distant audience can be served by a coarser, more affordable pitch.
Finally, the surveyor looks at ceiling height, access routes for heavy cabinets, and the nearest power and network points. Overlooking this stage often leads to unexpected expenses and project budgets exceeding initial estimates.
Choose the Right Mounting Method
The mounting method depends on the venue, cabinet weight, available space, and the intended purpose and operating conditions of the display. Here are the four main options:
- Wall-mounted: Cabinets attach to a steel frame fixed to the wall. This is popular for retail stores, offices and restaurants because it sits flat and looks clean.
- Floor-stacked: Panels are stacked on a base and supported from behind. Event companies like this for temporary stages and trade shows.
- Hanging or rigged: Cabinets are suspended from trusses or ceiling points. It saves floor space but needs certified rigging and a structural check of the ceiling.
- Freestanding: A self-supporting structure with a weighted base. It suits spaces where drilling into walls is not allowed.
Weight is the detail people forget. A large led walls system can weigh several hundred kilograms, so the surface or structure must be confirmed by an engineer before anything is fixed.
Plan Power and Data Before Installation Day
LED screens are thirsty. A big display can draw a lot of electricity, so the power supply should be calculated in advance. Ideally, the screen gets its own dedicated circuit, with proper earthing and surge protection. Sharing a circuit with air conditioners or kitchen equipment is asking for flickering and tripped breakers.
Power is usually split into zones so that no single cable carries too much load. This also makes fault-finding easier later.
For signal transmission, content moves from an input device, such as a computer or media player, to the video processor. From there, network cables carry the signal through each cabinet. Good installers label every cable and keep power and data lines separated to reduce interference. Planning a short backup route for the signal is also smart, since it keeps the display running if one cable fails.
The Installation Process, Step by Step
Once the groundwork is complete, the physical build begins. Here is how a typical installation unfolds.
- Mark and fix the frame. Technicians use laser levels to mark precise locations before securing the supporting frame or mounting base. Accuracy matters here, because even a small tilt grows across a wide screen.
- Install the first row. Work usually starts from the bottom corner, or the top when hanging. The initial cabinet determines the alignment of all subsequent display panels.
- Connect and lock cabinets. Each module is attached to its neighbour with quick locks or bolts. Power and data cables are plugged in before the next one goes on.
- Check as you build. Good teams switch on sections as they go. Finding a dead module after the whole wall is up means undoing hours of work.
- Finish the edges. Trim, side covers or a frame hide the cabinet edges and cables, giving the screen a polished, built-in look.
- Set up the controller. The video processor is configured with the screen’s resolution and layout, so the content fills the display correctly.
A mid-sized led walls system can usually be built in one to three days, though large or curved designs take longer.
Calibration and Testing
A freshly assembled screen is not finished. Panels come from different batches and can show slight differences in brightness or colour. Calibration fixes this, so the wall looks like one continuous surface instead of a patchwork.
The installer runs test patterns such as full white, grey and primary colours. They adjust brightness, gamma and colour balance, then check for dead pixels, loose connections and visible seams. Sample content is played at different times of day to confirm that it looks good under the room’s real lighting.
Ask for a short handover session too. You should know how to switch the screen on and off, change content and spot early warning signs.
Common Installation Mistakes to Avoid
Even experienced buyers run into trouble. Watch out for these:
- Choosing a pixel pitch based on price instead of viewing distance.
- Neglecting proper ventilation can cause overheating and reduce the panels’ operational lifespan.
- Underestimating power needs or sharing circuits with other equipment.
- Hiring a team without rigging or electrical certification.
- Forgetting service access. Panels at the front or back must be removable without dismantling the whole wall.
- Not keeping spare modules, which makes later repairs slow.
Keeping the Screen Healthy After Installation
Maintenance is simple but often ignored. Dust the surface gently with a soft, dry microfibre cloth, and never spray liquid directly onto the panels. Keep the room within the recommended temperature range, and avoid running the screen at maximum brightness all day. Schedule a check every six months to inspect cables, fans and mounting points. A well maintained led walls system can run reliably for many years.
Conclusion
Installing an LED wall is a blend of engineering and attention to detail. Installation begins with a site inspection, followed by mounting, power and data setup, cabinet assembly, and final display calibration. When each step is handled properly, the result is a bright, seamless display that looks great and lasts. Choose a qualified installer, share your goals clearly and insist on testing before handover. Done right, your led walls system becomes a dependable tool for advertising, entertainment or communication, and it will keep delivering strong visual impact long after the installation crew has packed up and gone home.
Planning to install an LED wall? Contact our team for expert guidance, customised solutions, and professional installation tailored to your requirements.
Frequently Asked Questions
Q1. How long does it usually take to install a commercial LED wall?
Ans: Most indoor installations take one to three days, depending on size and complexity. Curved designs, rigging work and complicated wiring can extend the timeline, so confirm the schedule with your installer beforehand.
Q2. Can I install an LED wall myself without hiring professionals?
Ans: It is not recommended. Heavy cabinets, high power loads and precise alignment need trained technicians. A poor DIY job can cause safety risks, voided warranties and expensive repairs later.
Q3. Do LED walls need special electrical work in my building?
Ans: Often yes. Larger screens typically need a dedicated circuit, proper earthing and surge protection. Your installer will calculate the load and tell you whether your electrical panel needs upgrading.
Q4. How can I tell if my wall can support an LED display?
Ans: A structural engineer or experienced installer checks the wall material and thickness. If it cannot take the weight, a floor-supported or freestanding frame may be the safer alternative.

